Planning of the final project
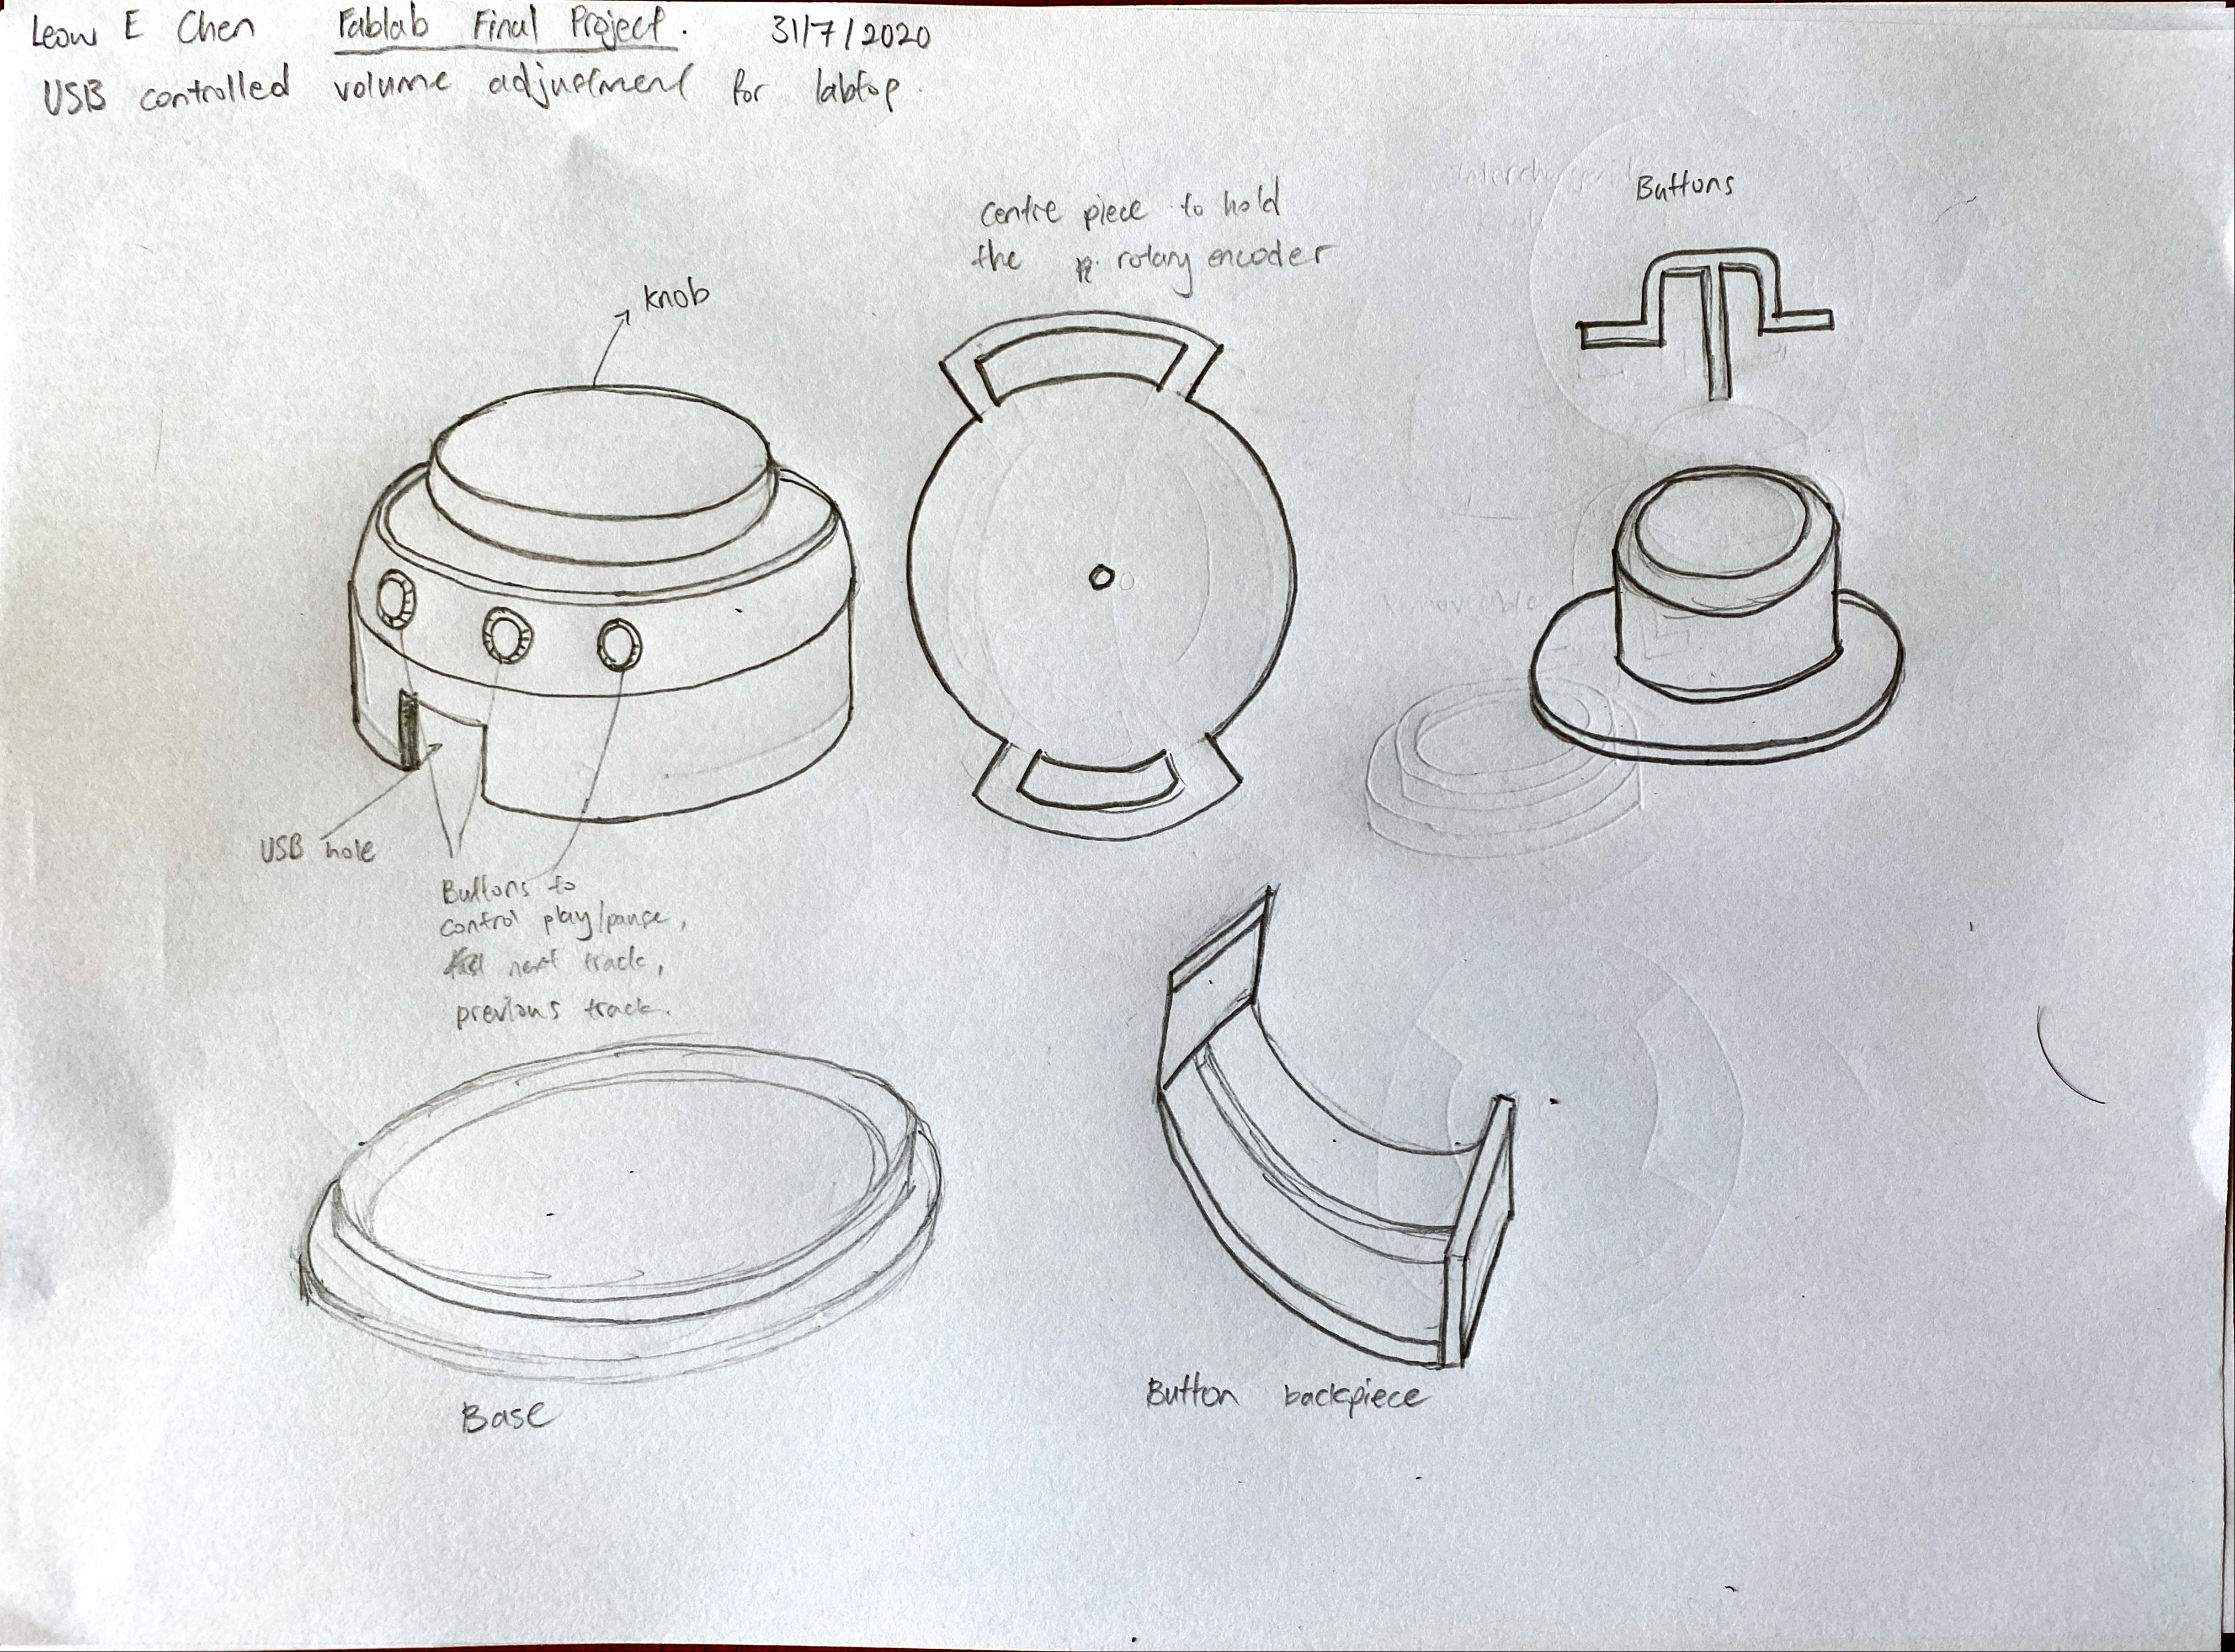
For the final projecct of this module, I decided to make a USB controlled volume adjustment knob. I got some inspiration from the link below in terms of the shape and the basic concept of the controller.
Where I got my idea from.I change the design a little by taking out the function in which the controller will pause and play music by pressing the knob once and i also took out the function where pressing the knob twice will move to the next song. Instead I added buttons to the side of the controller so that it can skip to the next song, go back to the previous song and pause and play the music.
The design of my controller is added below.
Bill of materials
The materials which is required for this project
- Alot of plastic.
- Abit of acrylic.
- Stripboard
- Male to female wires
- Rotary encoder x1
- Digispark x1
CAD drawings
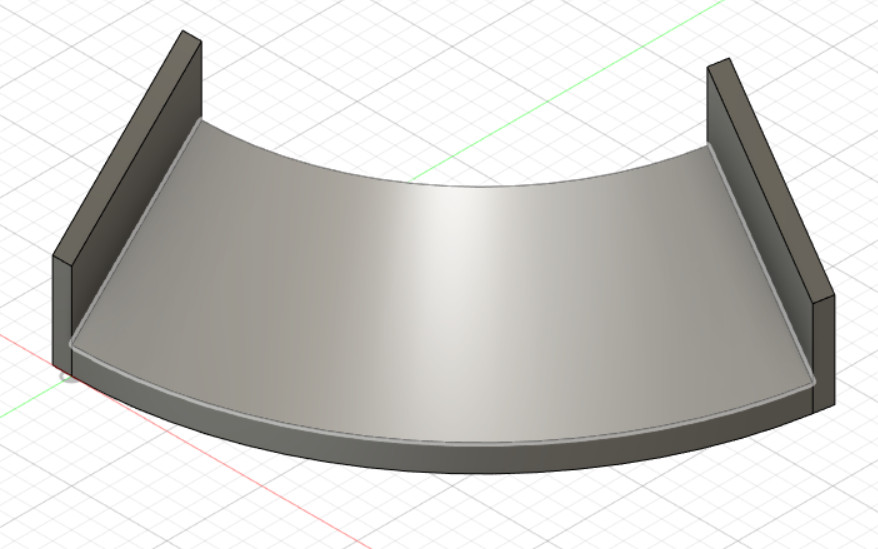
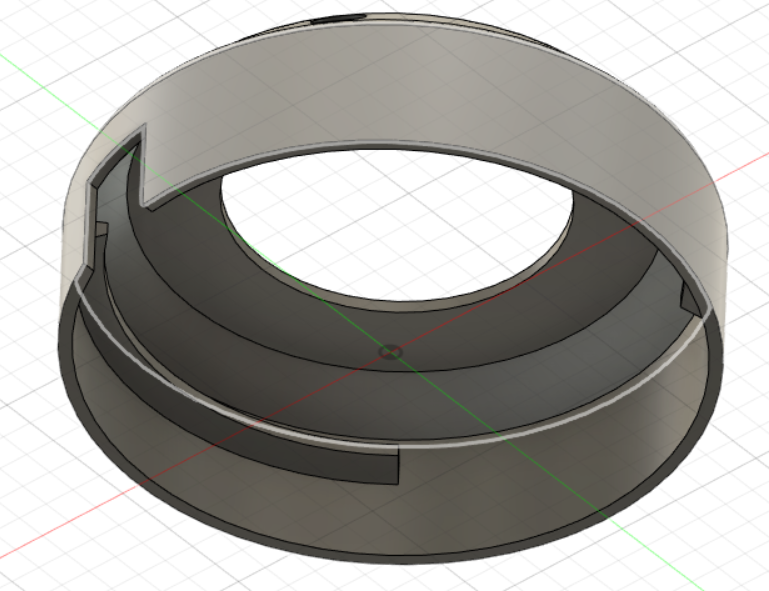
The first thing that I started making the CAD drawing of is the outer case as it will set out the measurements for the rest of the project. Since I want the controller to be portable, I tried to make it as compact as possible, with the diameter of the controller being only a few cm bigger then the length of the arduino board.
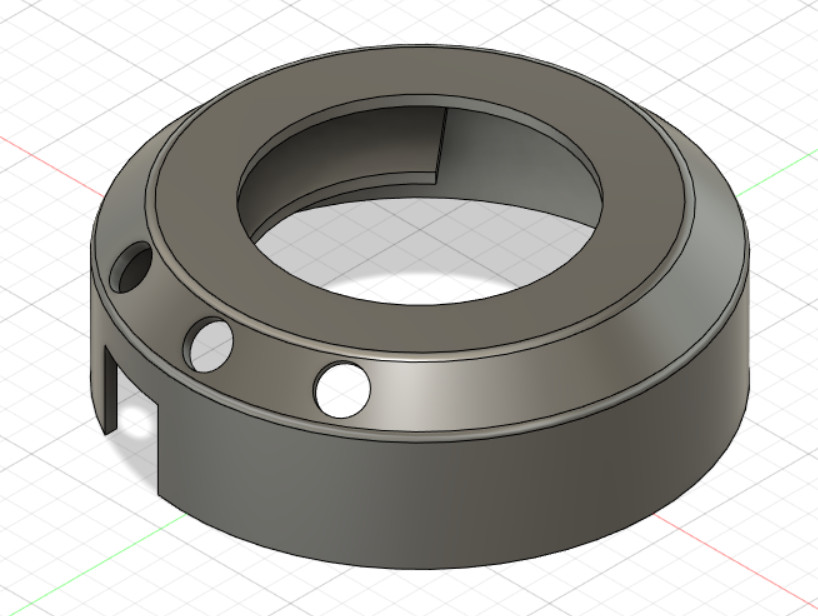
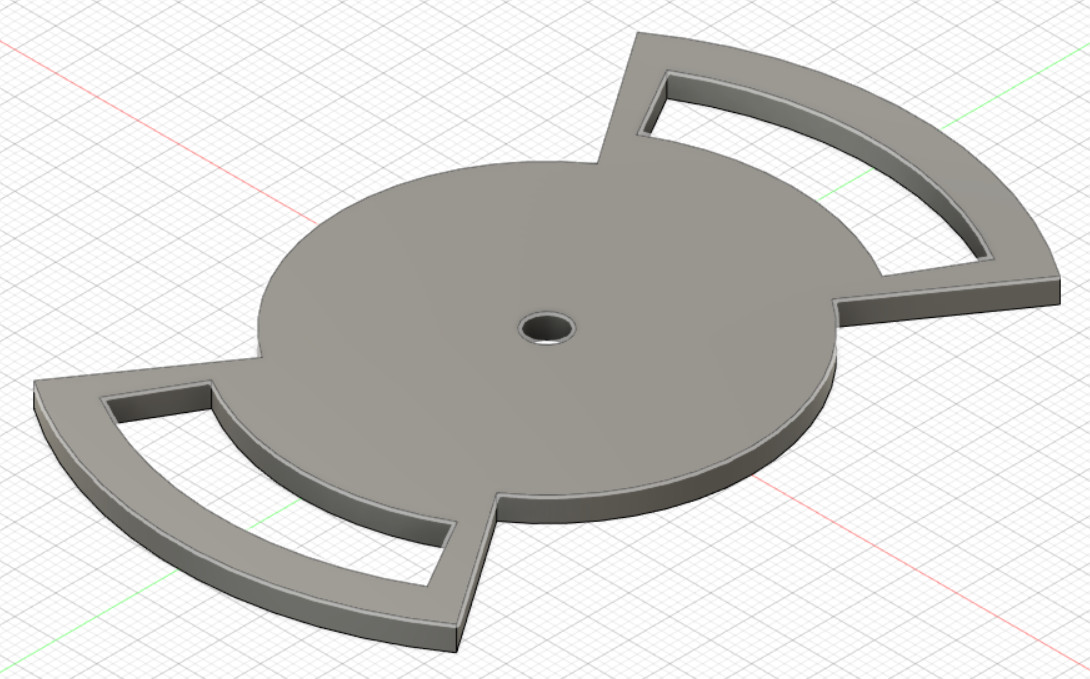
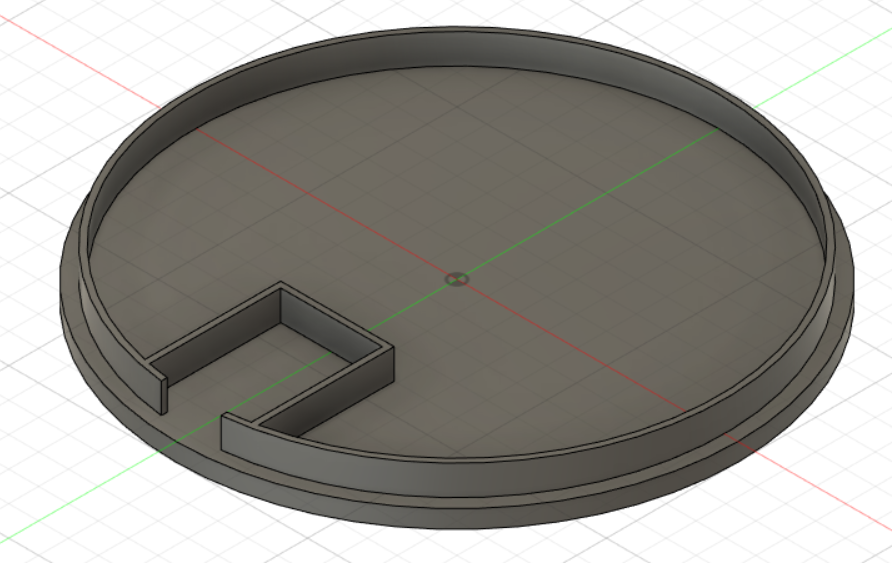
Next, I had to figure out how to keep the buttons and rotary encoder in place.This was done by adding a button holder and adding a removeable base to be put in the centre.
The process
On my first print for outer casing, I did not take into account overhang and measured the size wrong thus I stopped the job mid-print to avoid a wastage of material. So I altered the design to reduce the overhang and increase the size.
The printing of the knob and buttons went smoothly, however, while printing the base I wanted to add a side wall to encase the base. However, as I set the wall thickness as only 1 mm it broke on my way home.On the same day, I realise that the I would not be able to use the Arduino Uno to complete the project, and had to change to using Digispark which was alot smaller, thus I had to alter the design of the base to make sure that the Digispark would not move around.The difference in size can be seen below.
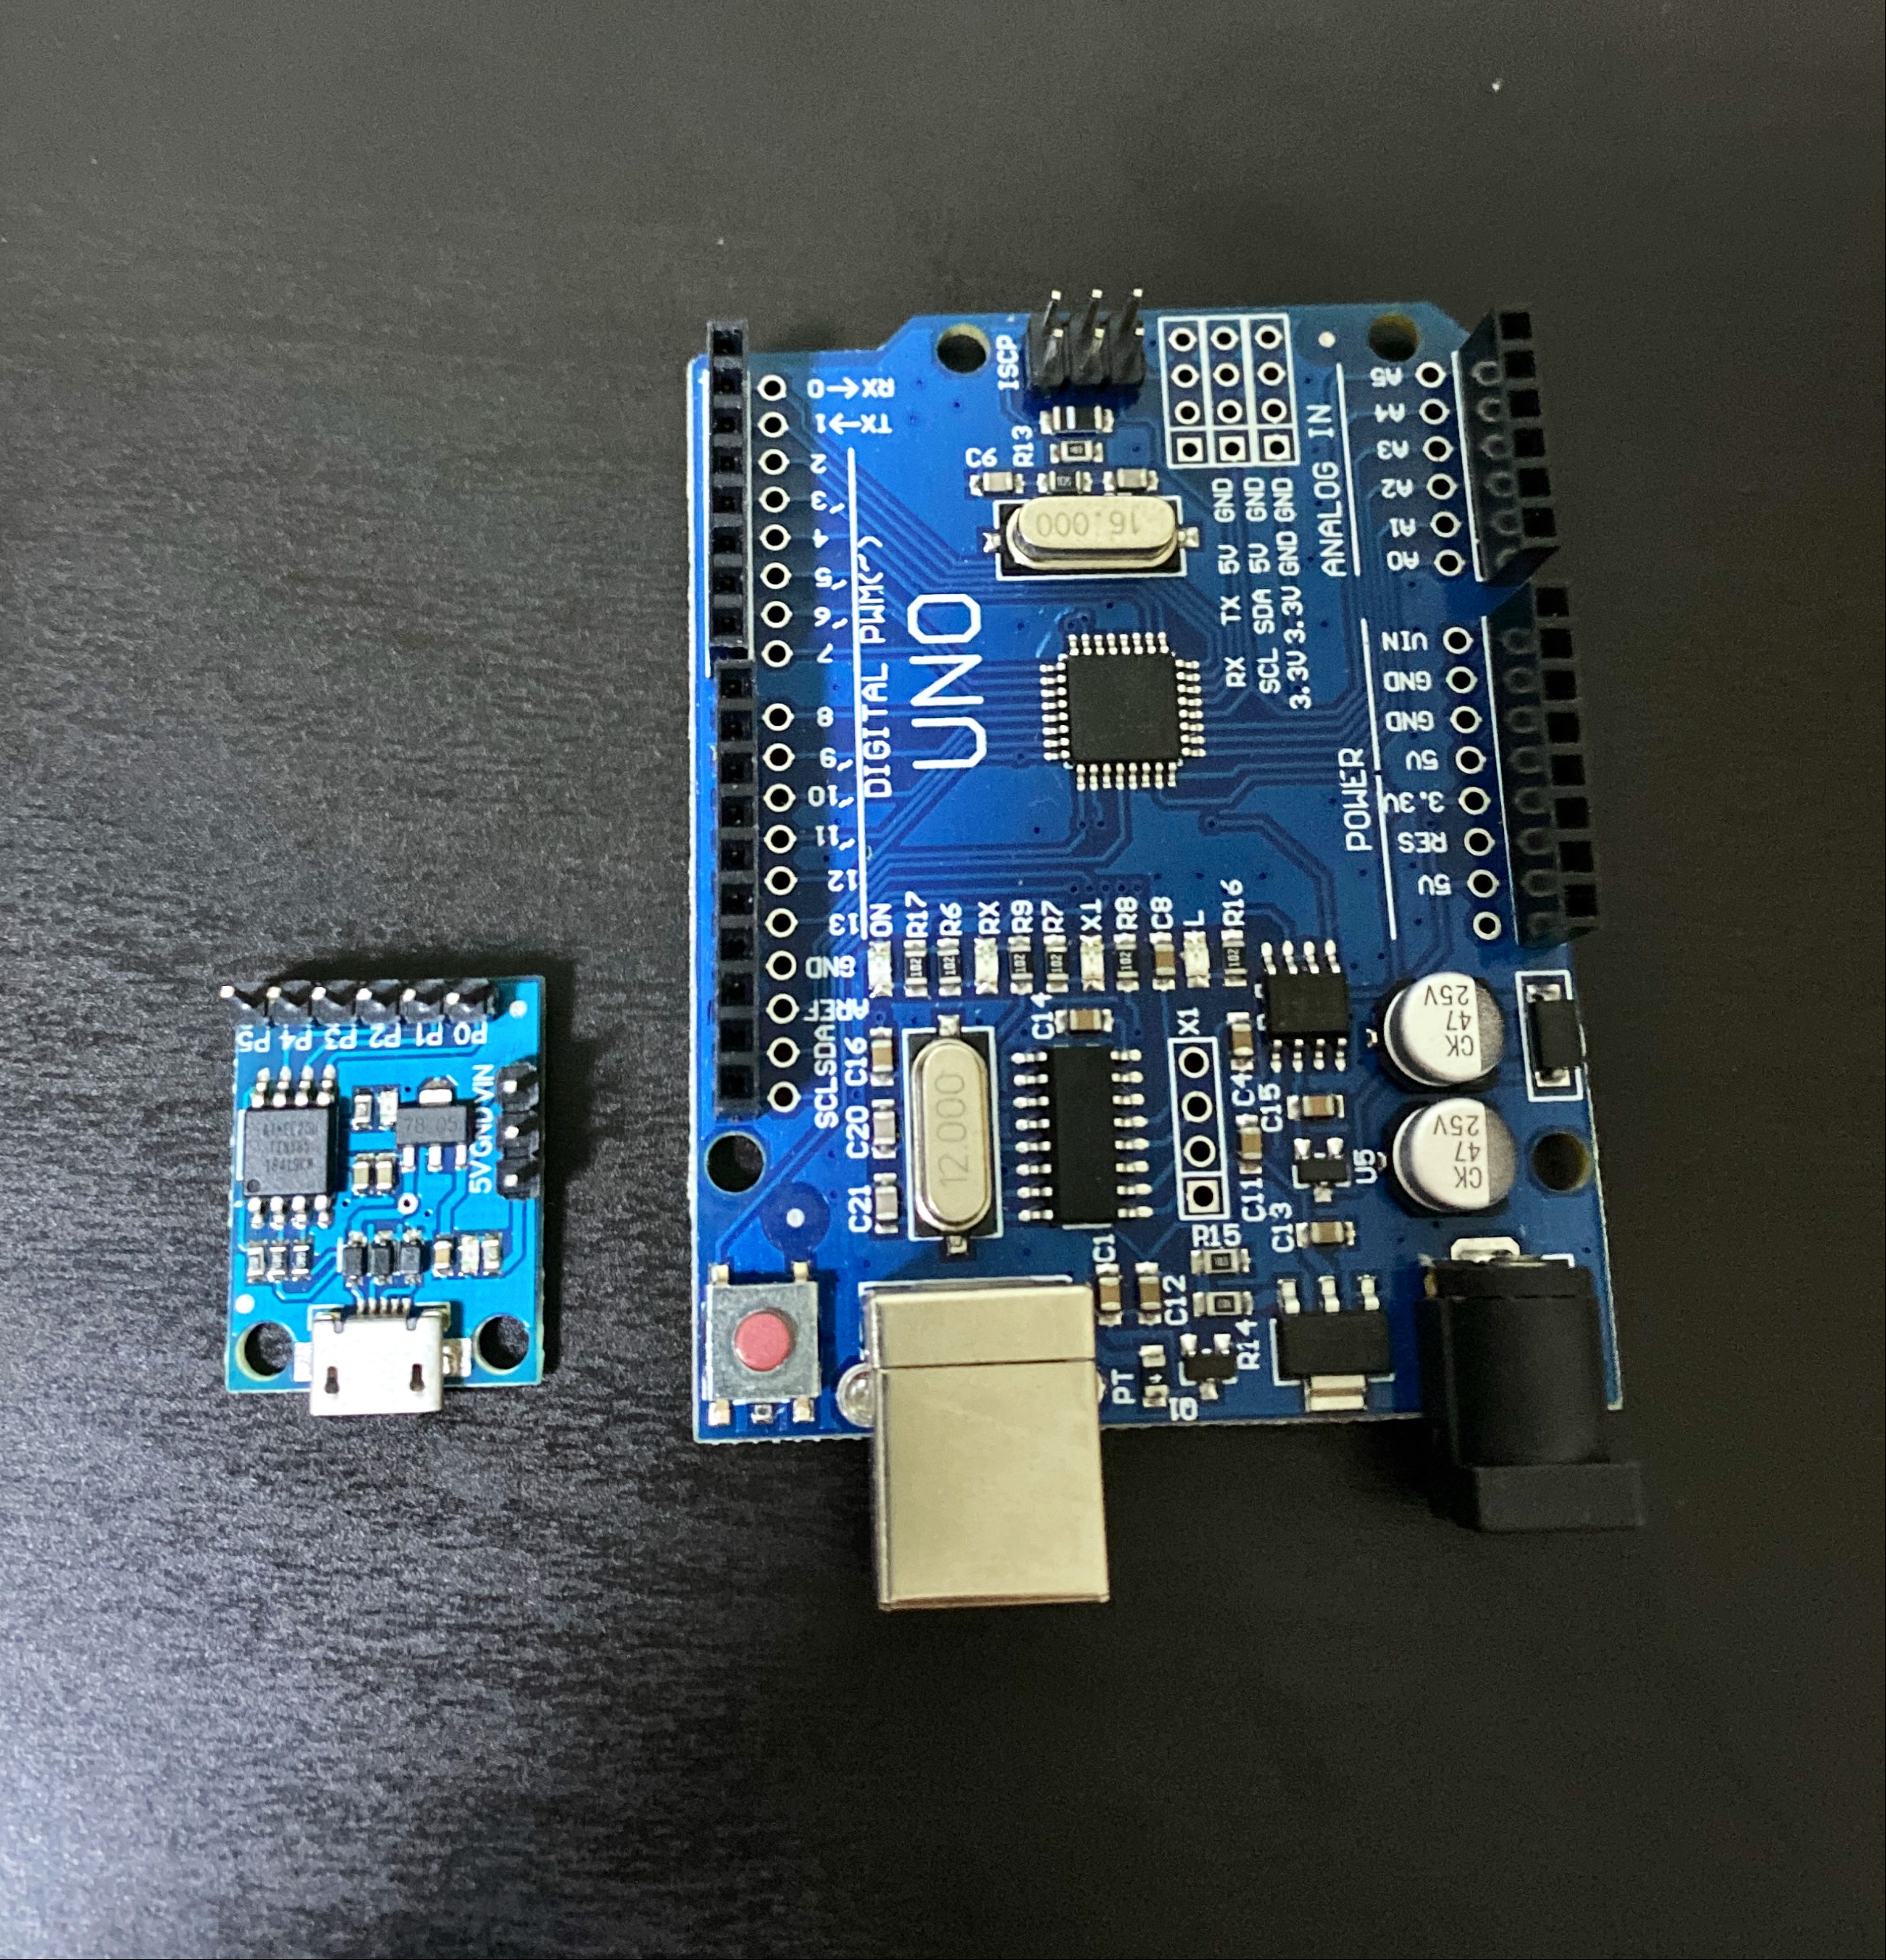
When I started coding, I ran into many problems, the first being that the Arduino Uno was not a HID device, meaning that it could not be conneccted to a laptop by USB and control the music on the laptop. The second problem faced was that the Digispark could not take data directly from the rotary encoder, causing the pause and play to constantly flicker on and off. To solve this problem I had to connect an external button to the circuit. However, instead of being connected to ground, the button will be connected to the 5V source. The working circuit for the Digispark can be seen below.
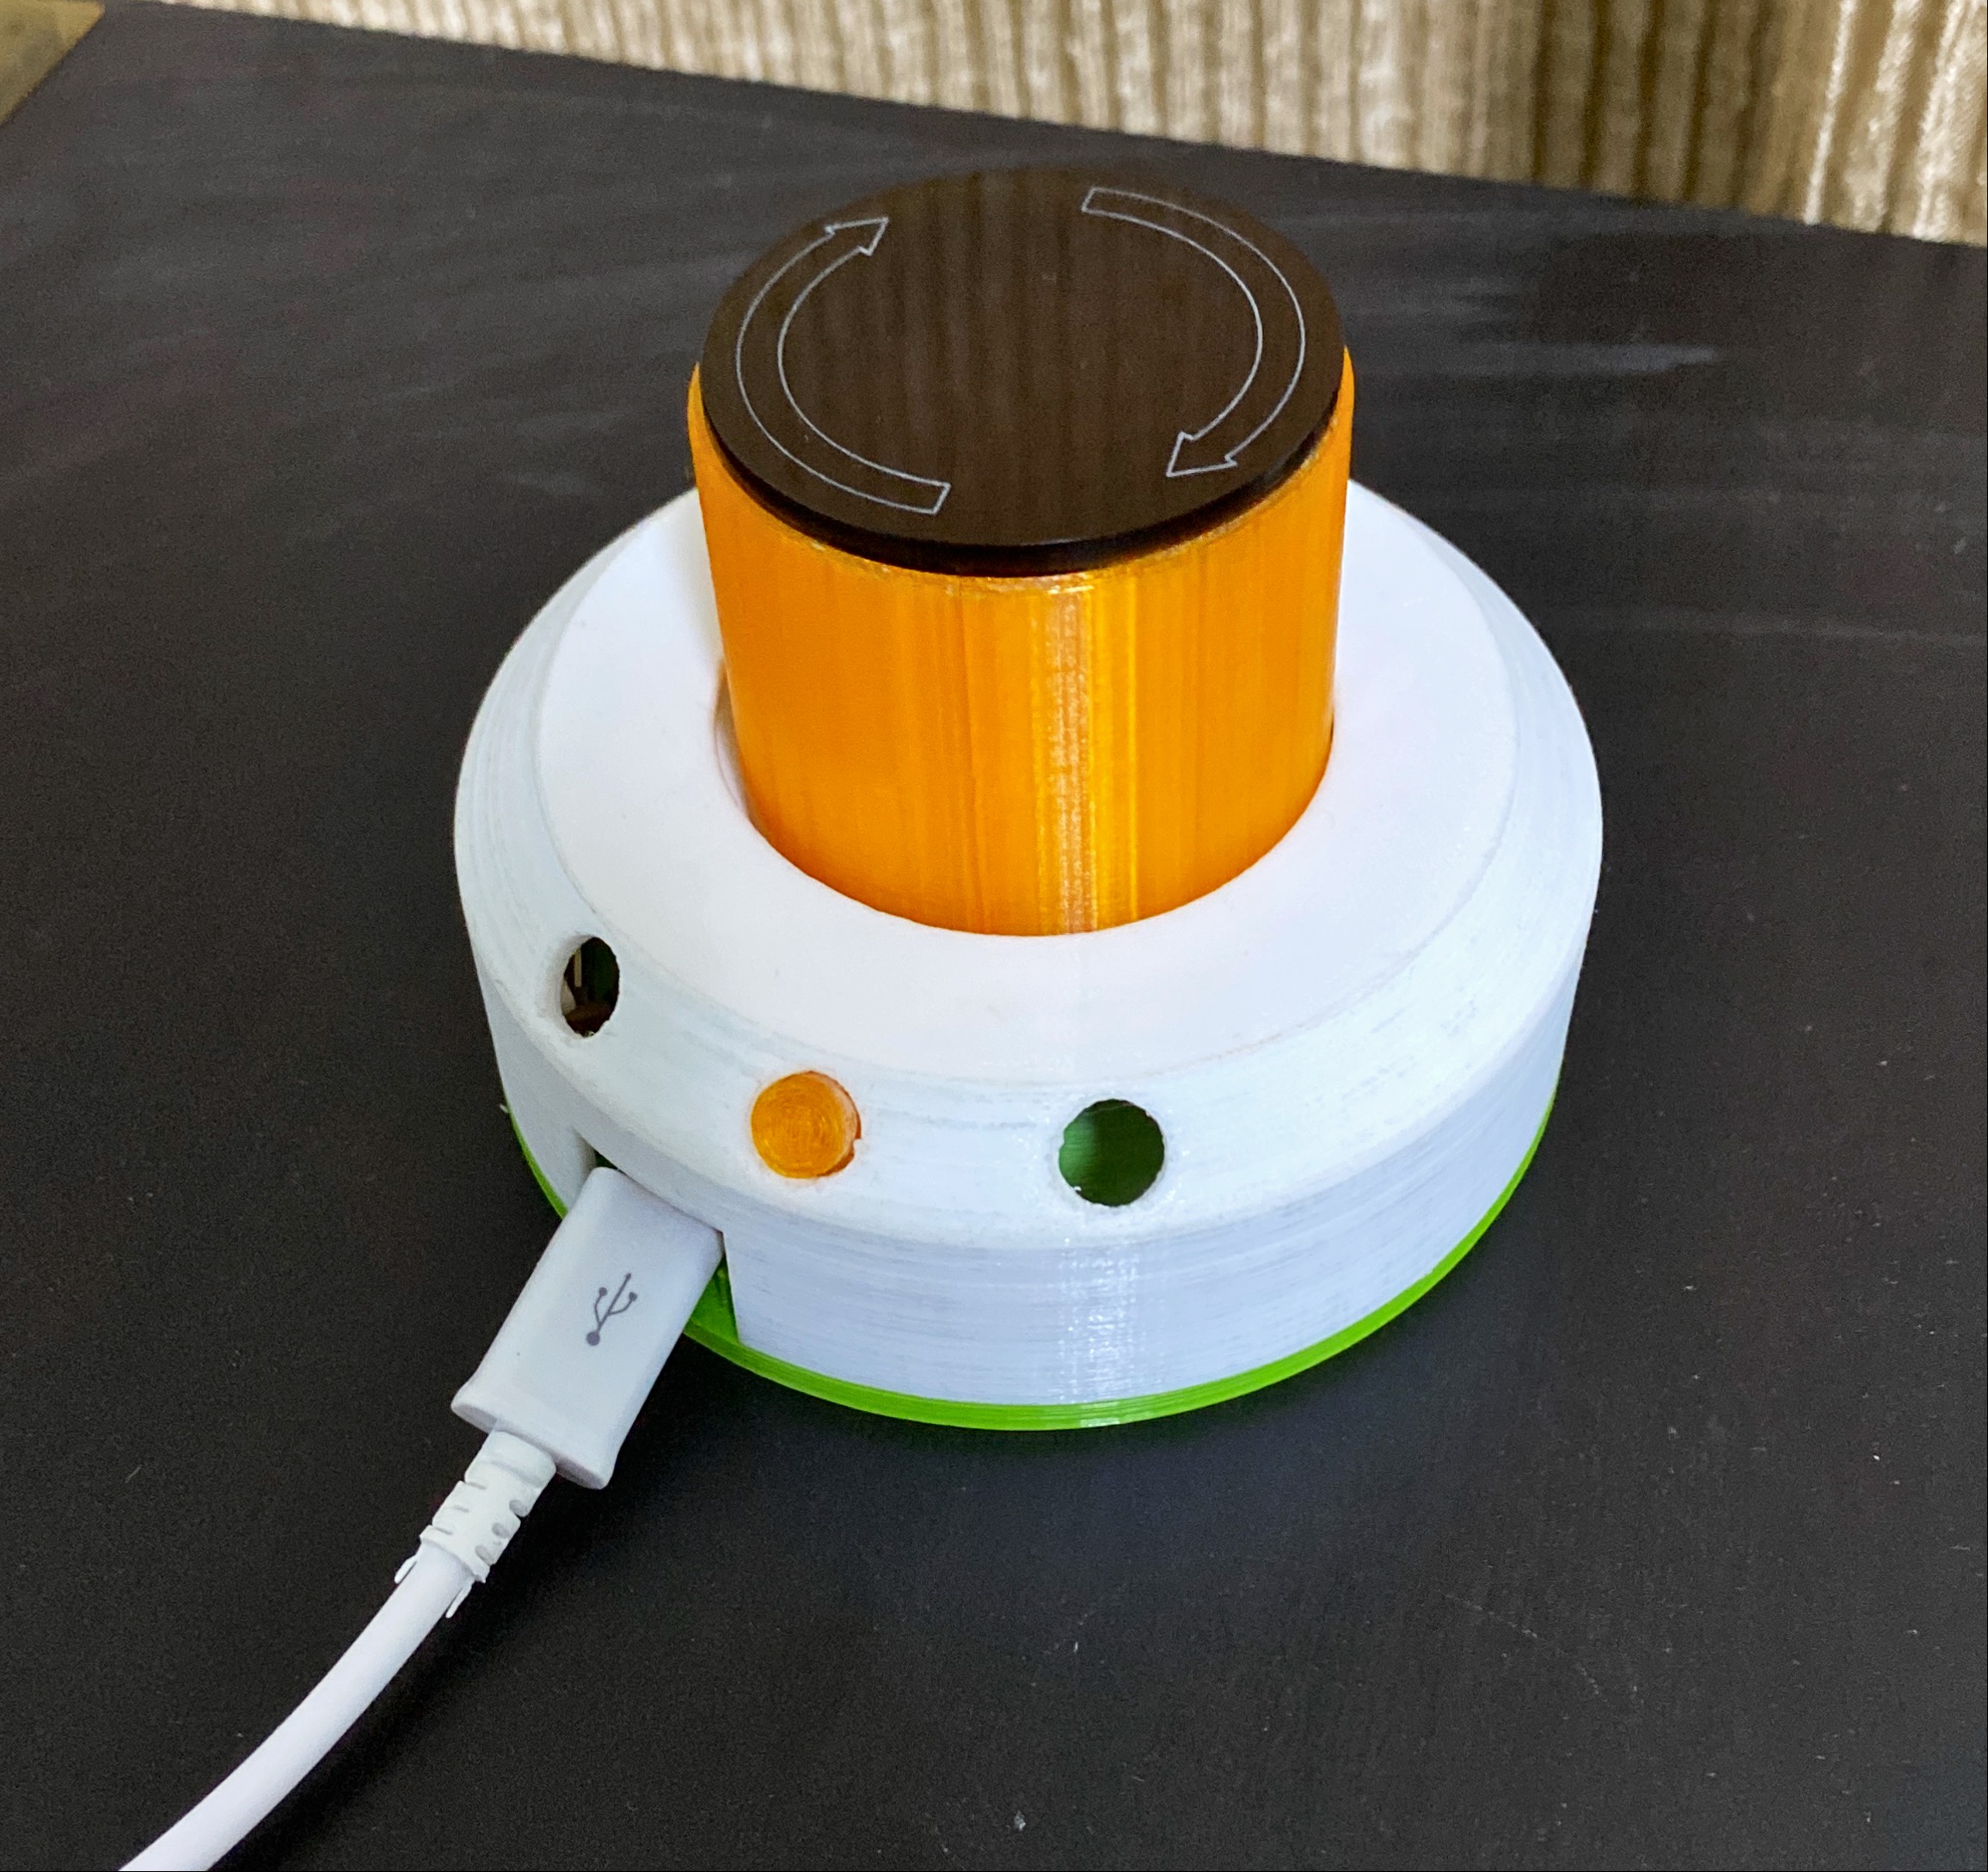
Finished Project.
My completed final project can be seen below together with the code.